Reclaiming Lithium Batteries
Reclaim Lithium Cells
See also: Disposable Vape Battery Reclamation.
Activity: Build a USB Powerbank from reclaimed 18650 Lithium Cells.
Time: 2 hours. Cost: £40. Places: 6. Takeaway: 4 cell 5V USB Powerbank
Learn to test and match reclaimed 18650 Lithium Cells and to build larger packs from them. Use a Kweld Mini Spot Welder to weld cells into packs with Nickel strip.
How do Lithium batteries work? How do we safely charge and discharge them? Find out about BMS (battery management systems) and Lithium protection circuits.
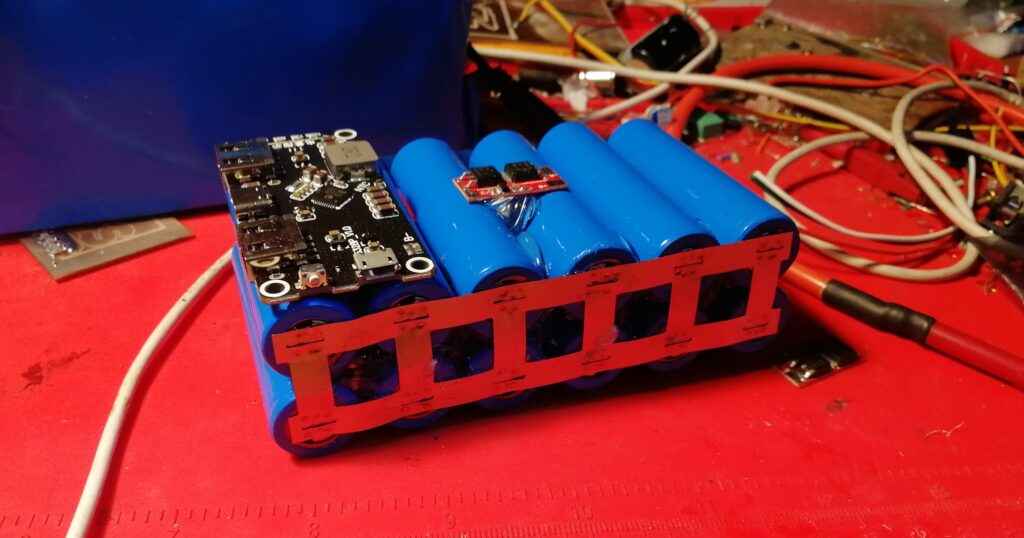
Materials provided: 4 x reclaimed 18650 Lithium cells and a 3D printed holder, 1 x 2A QC 3.0 5V Powerbank Module PCB, solder, Nickel strip, Copper cable, Heatshrink.
Equipment provided: Kweld mini spot welder, 18650 tester, battery ISR tester, soldering iron, heat gun, snips, scissors, safety glasses.
I can accommodate complete beginners as well as those with experience of DIY Lithium batteries and LEDs. You will build your own USB Powerbank from reclaimed 18650 cells that you can recharge with a USB phone charger. Charge mobile phones and power LED lighting in the field!
Laptop batteries, medical devices, modern power tools, cordless home appliances, and even vaping devices often contain 4.2V Lithium Cells. These cells are typically 18mm wide by 65mm long, giving them the name 18650. There are numerous 18650s and other rechargeable Lithium cells available that can be reclaimed and repurposed. Lithium cells have a longer lifespan than traditional Lead-Acid cells and frequently outlast the disposable devices they power. Sometimes, lithium battery packs are discarded when just one cell fails, rendering the entire pack useless, even though the remaining cells are still functional.
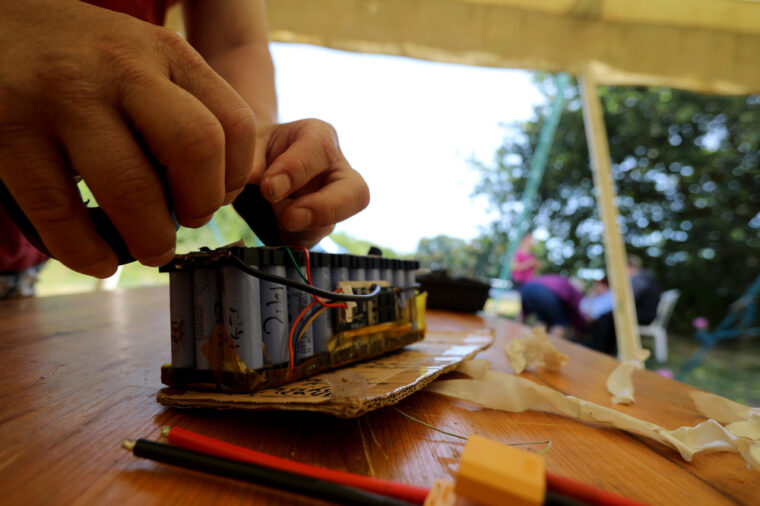
If you bring any lithium battery packs or cells, we can test them to see if any of the cells can be reclaimed. If you don’t have any, I will provide you with four 18650 cells reclaimed from portable medical devices. We will cover how to safely handle and store 18650 lithium cells and batteries in general, discussing lithium battery protection circuits and their importance. Additionally, we will address the potential hazards of lithium batteries.
Next, we’ll test some 18650 lithium cells and open up a few old battery packs. You’ll learn to use testers and multimeters and understand the meaning behind the readings.
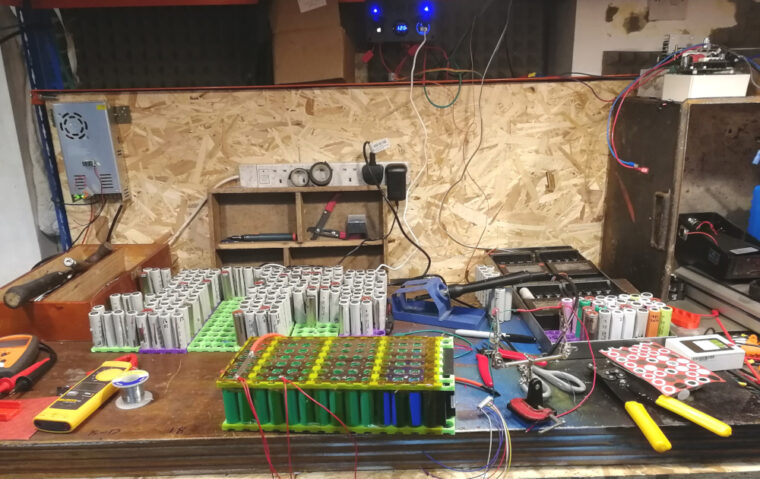
Using a Kweld Mini Spot Welder and Nickel strip, we will weld 18650 cells together into a battery with a 3D printed holder. We’ll then solder wires from the battery to a 5V USB Powerbank module, which includes protection circuitry. After testing the completed battery pack, we’ll wrap it in heat shrink plastic for protection, or it can be installed into an enclosure of your choice.

Testing reclaimed cells
- Reclaimed cells should ideally be of the same make and of a similar capacity. The better the consistency of the batteries, the better the performance of the battery pack.
- Shorting (over-current) and over-charging Lithium Batteries can result in toxic smoke, fire, and explosion due to thermal runaway. Battery packs over 96 Wh are subject to restrictions in transport. The packs we will build are about 30 Wh.
- All 18650 lithium cells must have circular separators between the terminals and heat shrink over the casing to avoid shorting. You must not remove the heat shrink and separator without replacing them. Try to test the reclaimed cells in their original packaging.
- All lithium cells not in batteries should be stored upright in a fire-proof but not sealed metal box. Any unused or defective cells must be given back to us for safe storage.
- All the DIY lithium battery packs we make will incorporate a protection circuit and will have covered terminals.
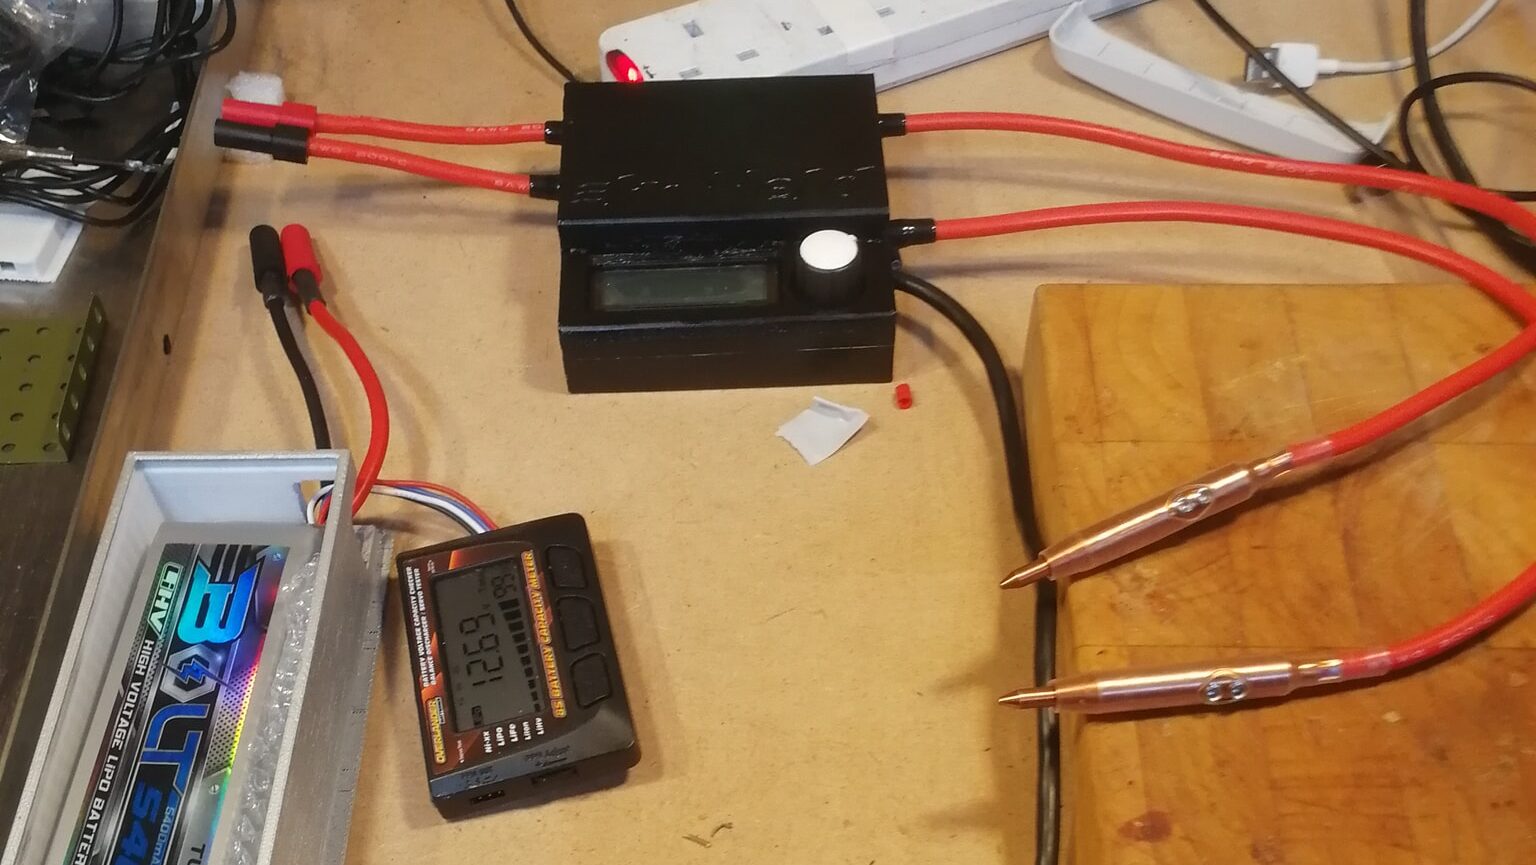
We will be doing 3 tests on each cell:
- Internal Series Resistance is under 75 mΩ for a low-current pack or less for higher current packs. Higher ISR means more heat!
- Capacity of more than 80% of the original capacity.
- We must check that the cell does not self-discharge. All the supplied batteries should be ≈4 V. If they are much less, we will get you another.
Preparation before building battery
Top up your cells in the chargers. Trim the sharp edges from your nickel strip. Put your cells into the 3D printed holders. Carefully sand off any nickel burrs.
3 checks before connecting any cells:
- Voltage is no more than 0.05 V difference. This is important as high current can flow!
- Internal Series Resistance is no more than 30 mΩ difference.
- Capacity difference lower than 50 mAh.

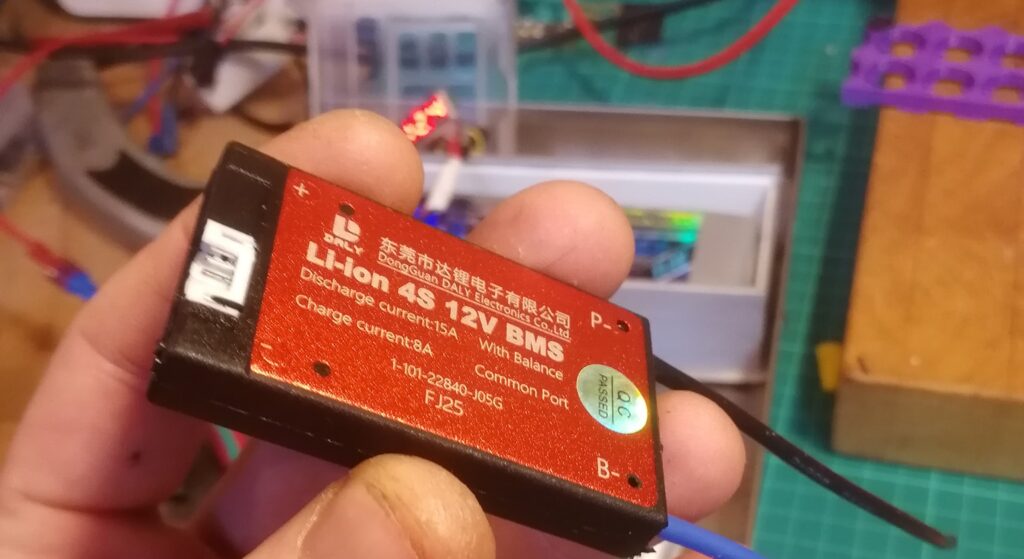
BMS Battery Management Systems for DIY lithium batteries
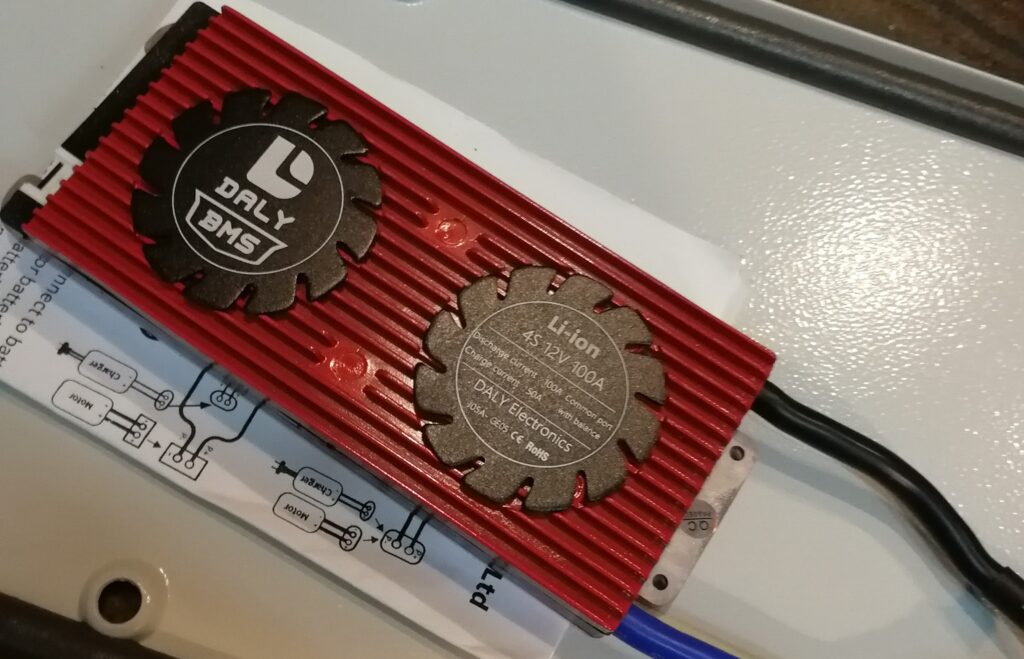
If you DIY lithium batteries, you must have a BMS or they are not safe. A BMS will monitor the voltage of each parallel group of cells in a series pack. It will disconnect the negative electrode of the battery if any parallel group goes above ≈4.25 V or under ≈2.75 V for Lithium Ion and above ≈3.7 V or under ≈3 V for LiFePO4. This depends on BMS settings.
Common BMS wiring instructions (check manufacturers instructions):
1. Connect the BMS B- to the battery pack negative electrode.
2. Make sure the voltage sensing wires are disconnected from the BMS side.
3. Solder the sensing wires to the parallel groups of cells: Start with the black wire to the battery pack negative electrode then connect the 2nd wire to the 1st parallel group positive pole, the 3rd wire to the 2nd parallel group positive pole and so on. The final wire should attach to the battery positive electrode.
4. After attaching all the sensing wires, don’t plug into the BMS straight away. Double-check the wiring is correct as you can easily destroy your BMS.
5. Plug the sensing wires into the BMS.
6. If you have a common port BMS, connect load- and charge- to P-.
7. If you have a separate port BMS, connect charge- to C-, connect load- to P-.
8. Measure the total voltage of the pack and the output voltage of the BMS. If the voltage is the same, it means the wiring is correct.
9. Some BMS require a charge current to activate them.
Risk Assessment
Risk: Sparks from Kweld poor contact, wrong settings or poor quality nickel strip
Expulsion from the spot welding process can be dangerous because the shower of sparks represents pieces of molten metal flying out from the joint, potentially causing eye injuries. The Kweld is a mini spot welder and expulsions are not large enough to damage the skin.
Control: Safety glasses mandated during Kweld use. Full training given to each operator. To Do: Records kept of training.
Risk: EMF from Kweld
A very strong electromagnetic field is created between the arms of a spot welder when the current flows while making welds. A spot welder should not be operated by someone with an implanted medical device, such as a heart pacemaker.
To Do: Records kept of confirmation of fitness.
Risk: Burns from Soldering iron or heat gun
There is a risk of minor burns from these devices.
Control: First aid kit with Burn Gel dressings. Heat used under supervision by Green Dragon staff only. Fire Extinguisher visible and accessible.
Risk: 18650 Lithium Batteries
Shorting (over-current) and over-charging Lithium Batteries can result in toxic smoke, fire and explosion.
Control: All 18650 lithium cells to have circular separators between the terminals and heat-shrink over the casing to avoid shorting.
Control: All lithium cells not in batteries to be stored upright in a fire-proof but not sealed metal box.
Control: All battery packs to incorporate a protection circuit and to have covered terminals.
